How to Cook Like a Pro With Your Oven’s Broiler
For a long time, I thought the broiler was just there to make your oven look more complicated. It was another button on the oven I never touched. Then one summer, I wanted roasted vegetables but didn’t want to run the oven for an hour. I set them under the broiler, waited a few minutes, and they came out with crisp, dark edges like they’d been on a grill.
The broiler is just a heating element at the top or bottom of your oven that gives off very high, direct heat. It’s handy for quickly browning the top of a dish, blistering peppers, or searing meat when you don’t feel like firing up a pan. Here’s how I learned to make the most of it.
Preheat Like a Grill, Pick the Right Pan
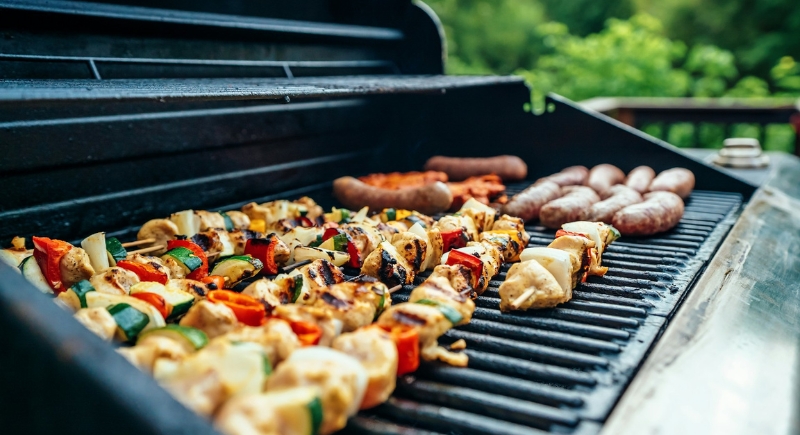
Image via Unsplash/Evan Wise
Manufacturers hide broilers in two spots. Newer ranges often mount a bright, strip-style element on the oven ceiling. Older or budget models stash the broiler in a shallow drawer under the main box. Check the manual or look for scorch marks on the top rail for the broiler’s actual location.
If the element sits overhead, slide the rack to the highest notch and leave about four inches between the metal and food. Drawer versions fix that gap for you, and you only need to choose shallow pans that fit the tray.
High heat warps flimsy sheets and peels non-stick coatings, so bring out cast-iron skillets, heavy stainless pans, or the slotted broiler pan that usually comes with the stove. Set the empty cookware under the element while the broiler warms for five minutes.
Preheating the vessel sears contact points the moment food lands. A thin film of neutral oil on foil keeps dinner from fusing to hot metal. Avoid parchment and glass because they scorch or crack at broiler temperatures.
Position Determines Speed and Color
There are two variables that rule the outcome of broiling, namely distance and thickness. Thin items like skirt steak or zucchini planks and shrimp need a tight four-inch berth. For a pork chop that is over an inch thick, it is better to use the next rack slot so the center finishes before the crust blackens.
When using a drawer broiler without rack choices, create micro-adjustments by resting the pan on an inverted muffin tin or half-sheet turned upside down. Browning should appear within two to three minutes. If your cheese still looks pale after that, nudge the food closer; if it darkens too fast, as may be the case with sugar on crème brûlée, slide it lower.
Timing and Attention Trump Recipes
Recipes usually list preferred broiler ranges, but every oven brand heats a bit differently. Stand nearby and keep the door cracked two inches to vent steam that might trigger the thermostat to shut the element off. Watch the food instead of the clock. Fat on steak edges will spit, casseroles will hiss at the edges, and vegetables will blister once ready.
As an insurance policy, set the kitchen timer to three minutes, but nothing really beats using your eyes. Pull the pan the moment caramel color spreads across the surface, rest the steaks for five minutes, and serve the vegetables straight away while their skins stay taut.
Safety First
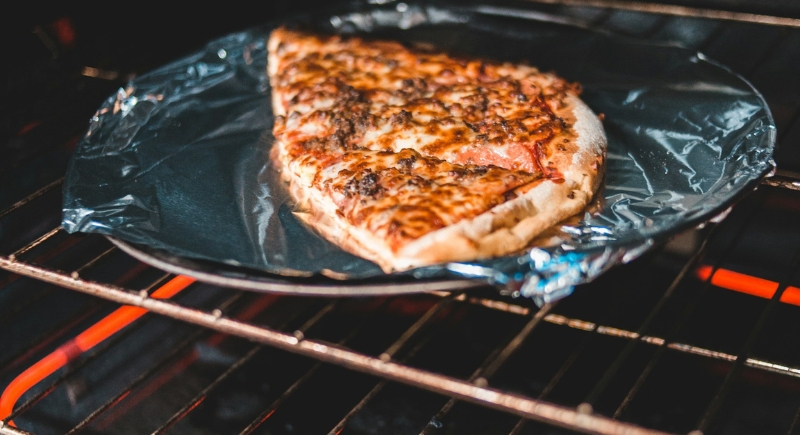
Image via Unsplash/Erik Mclean
A few safety habits will prevent the fire alarm from going off during dinner prep. Keep a silicone mitt ready, since cast iron climbs past 400°F fast. Wipe any marinade drips off the pan rim to prevent flare-ups, and never leave sugary glazes on foil since molasses can ignite quickly.
If you see flames appear, kill the broiler, close the door, and wait a minute; starving the fire of oxygen usually snuffs small flare-ups. Be sure to store your sheet pans elsewhere so the broiler drawer stays empty for proper heat circulation.
Broiler Confidence Means Faster Meals
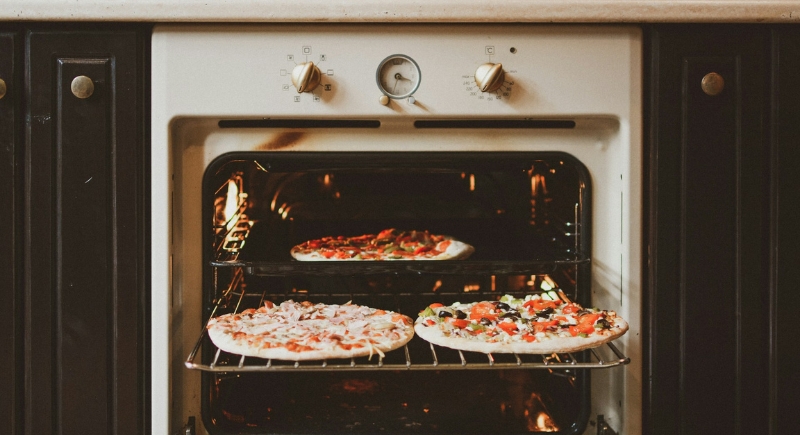
Image via Unsplash/Stefan C. Asafti
Using the broiler speeds up meals. You can get crisp breadcrumbs on baked pasta, bronzed salmon in eight minutes, or a steakhouse crust without an outdoor grill. After a few successful meals, the broiler button stops looking mysterious.